Your Cart is Empty
Get 15% off discount with LYONLASH15 | Purchase 3 items to get 10% off with BUNDLE3
Get 15% off discount with LYONLASH15 | Purchase 3 items to get 10% off with BUNDLE3


Are you a lash artist looking to take your isolation skills to the next level? Congratulations, because you've come to the right place!Whether you're just starting out or have been lashing for a while now, mastering the art of proper isolation is crucial in ensuring flawless extension application every time.
By following these tips and tricks, you'll elevate your isolation technique and be able to deliver beautiful, long-lasting lash sets with confidence! So let's get started…
Our natural eyelashes go through a growth cycle. As each natural lash grows and falls out at different speeds, if not properly isolated during extension application, multiple lashes can become adhered together, leading to what is known as "lash stickies."
Lash stickies can cause significant damage to the client's lash health, as the falling out lash can pull out the newly growing one, damaging the hair follicle and causing discomfort and pain. Over time, this can result in long-term damage and even bald spots.
Furthermore, heavy, clumpy lashes can cause discomfort, put pressure on weaker lashes, and affect the client's clear vision.To provide the best experience for your clients and maintain the health of their lashes, it's important to master the technique of proper isolation.

Everyone's lashes grow differently, some straight and some wavy. If you don't separate them properly during a lash extension, your end result may not look as neat as you want. By isolating each natural lash, you can pick the perfect shape and size for a flawless look. So don't skip this important step for amazing lashes!
Lash isolation can be a challenging task for those who are just starting out. It requires a lot of patience and precision to master, but with practice, you'll see your isolation skills greatly improve. Remember, the more effort you put into improving your skills, the more perfect they will become.
When it comes to lash isolation, it's important to prioritize clean separation and proper placement of each individual lash.
Lash isolation is a key step in achieving a flawless lash extension. When isolating lashes, focus on creating clean separation between each individual lash and placing the extension in the right spot.
To get better at this technique, try using a timer to track how long it takes you to isolate both eyes. This way, you can see where you may be slowing down and practice that step to improve your speed.
Remember, the goal is to avoid lashes getting stuck together, which can cause discomfort for clients. If lashes are isolated correctly and extensions are applied properly, clients should feel comfortable and not experience any tugging or tightness.
On the other hand, if lashes are not separated well, clients may feel pain and experience discomfort during the process. So, take your time to practice and perfect your lash isolation skills to create a stunning and comfortable lash extension for your clients.

There are several ways to do lash isolation. In this blog, we’ll show you 4 commonly used techniques to separate lashes like a pro!
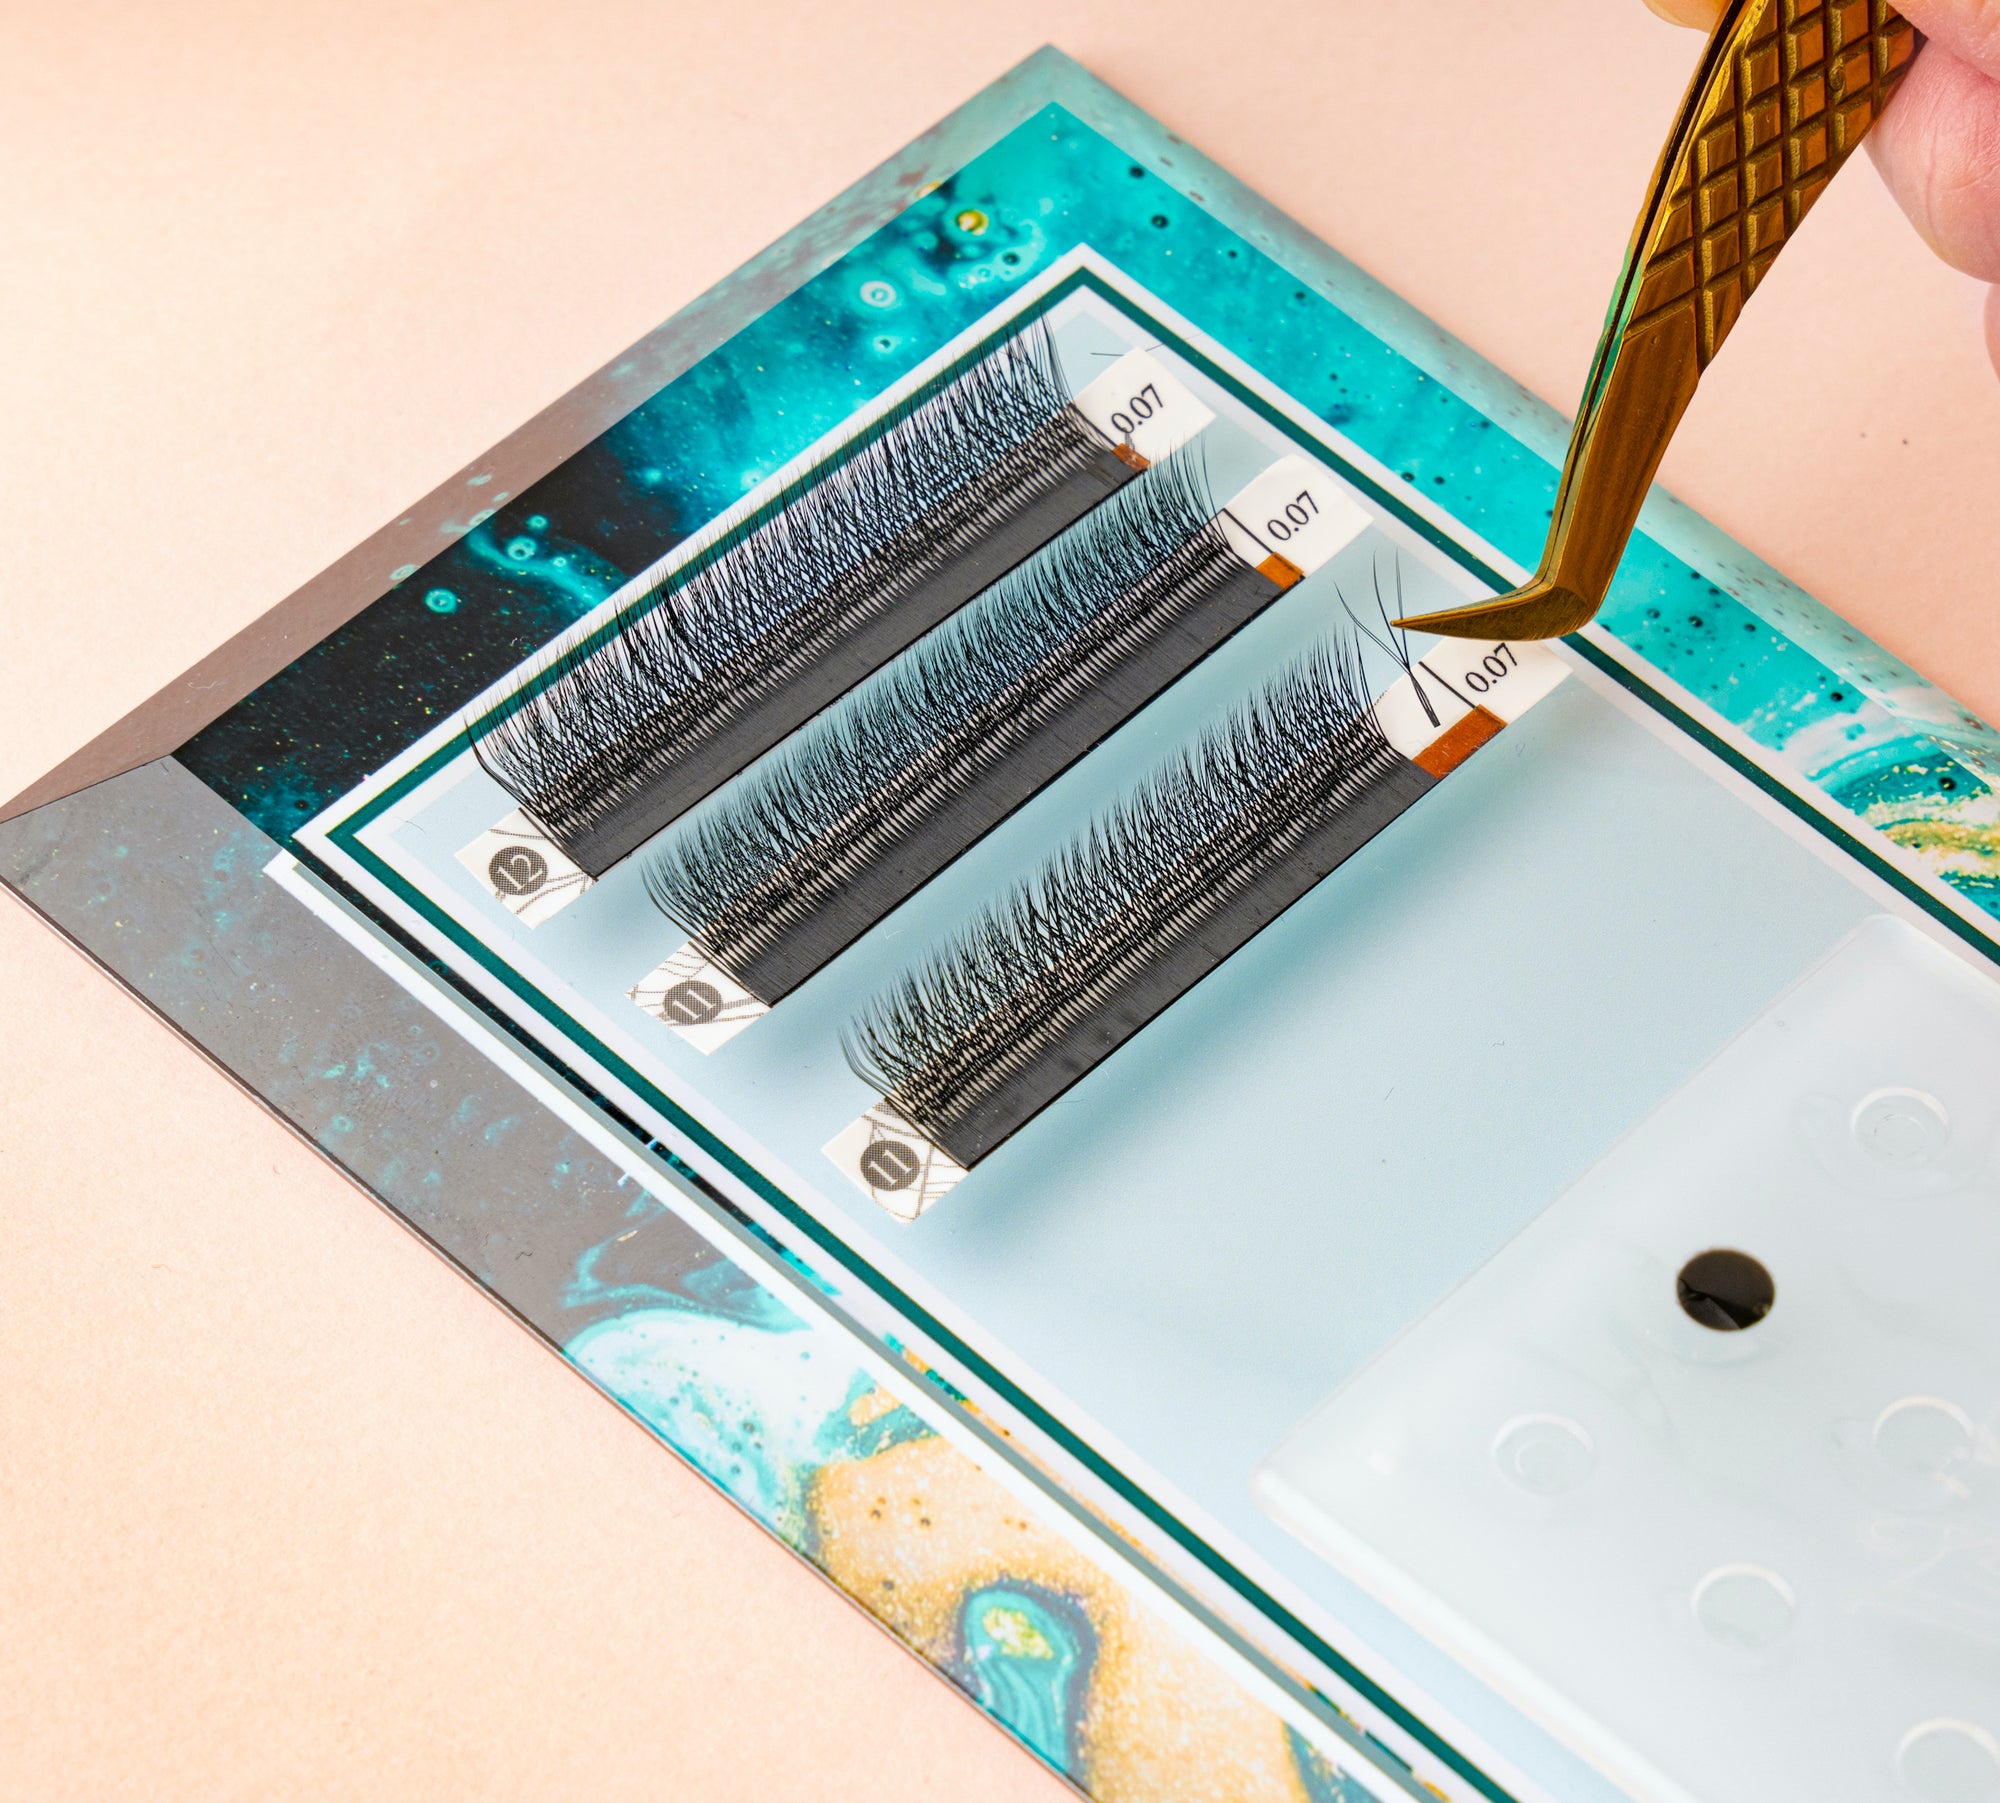
Sometimes natural lashes can be tangled and hard to see clearly, but there's a solution! Using a guide lash can help make it easier to see each individual lash and separate them.
Attaching a 0.07 mm lash extension as a guide lash to your natural lashes can help you differentiate the shorter lashes and make it easier to lengthen them with a lash tweezer. The guide lash provides a clear view and helps you keep the lashes separated during the lash extension application process.
The guide lash extension may not stay put on those short and thin natural lashes for long, but it'll hold up during the lash extension process and help you finish it beautifully.
Using both hands during the lash extension process can feel challenging, especially if you're not used to using your non-dominant hand. It might take some time to get used to, but with practice, you'll be able to easily separate the natural lashes using both hands.
One tip to make it easier is to start by holding the tweezers in your non-dominant hand and use it to gently isolate each individual lash. The goal is to be able to keep only one lash in between the tweezers at a time.
Once you've isolated the lashes, you can then use your dominant hand to carefully place the eyelash extensions in the correct position, making sure to secure it tightly to the natural lash.
Remember, the key is to take your time and not rush the process. With each practice session, you'll get faster and more confident in your skills.
Many people have natural lashes that grow in 2-3 vertical layers. But for those blessed with dense hair, their lashes can even have up to 5 layers! If separating lashes horizontally sounds like a daunting task, don't worry! You can always try separating them vertically instead. This could be a great alternative for those who are still getting the hang of things.
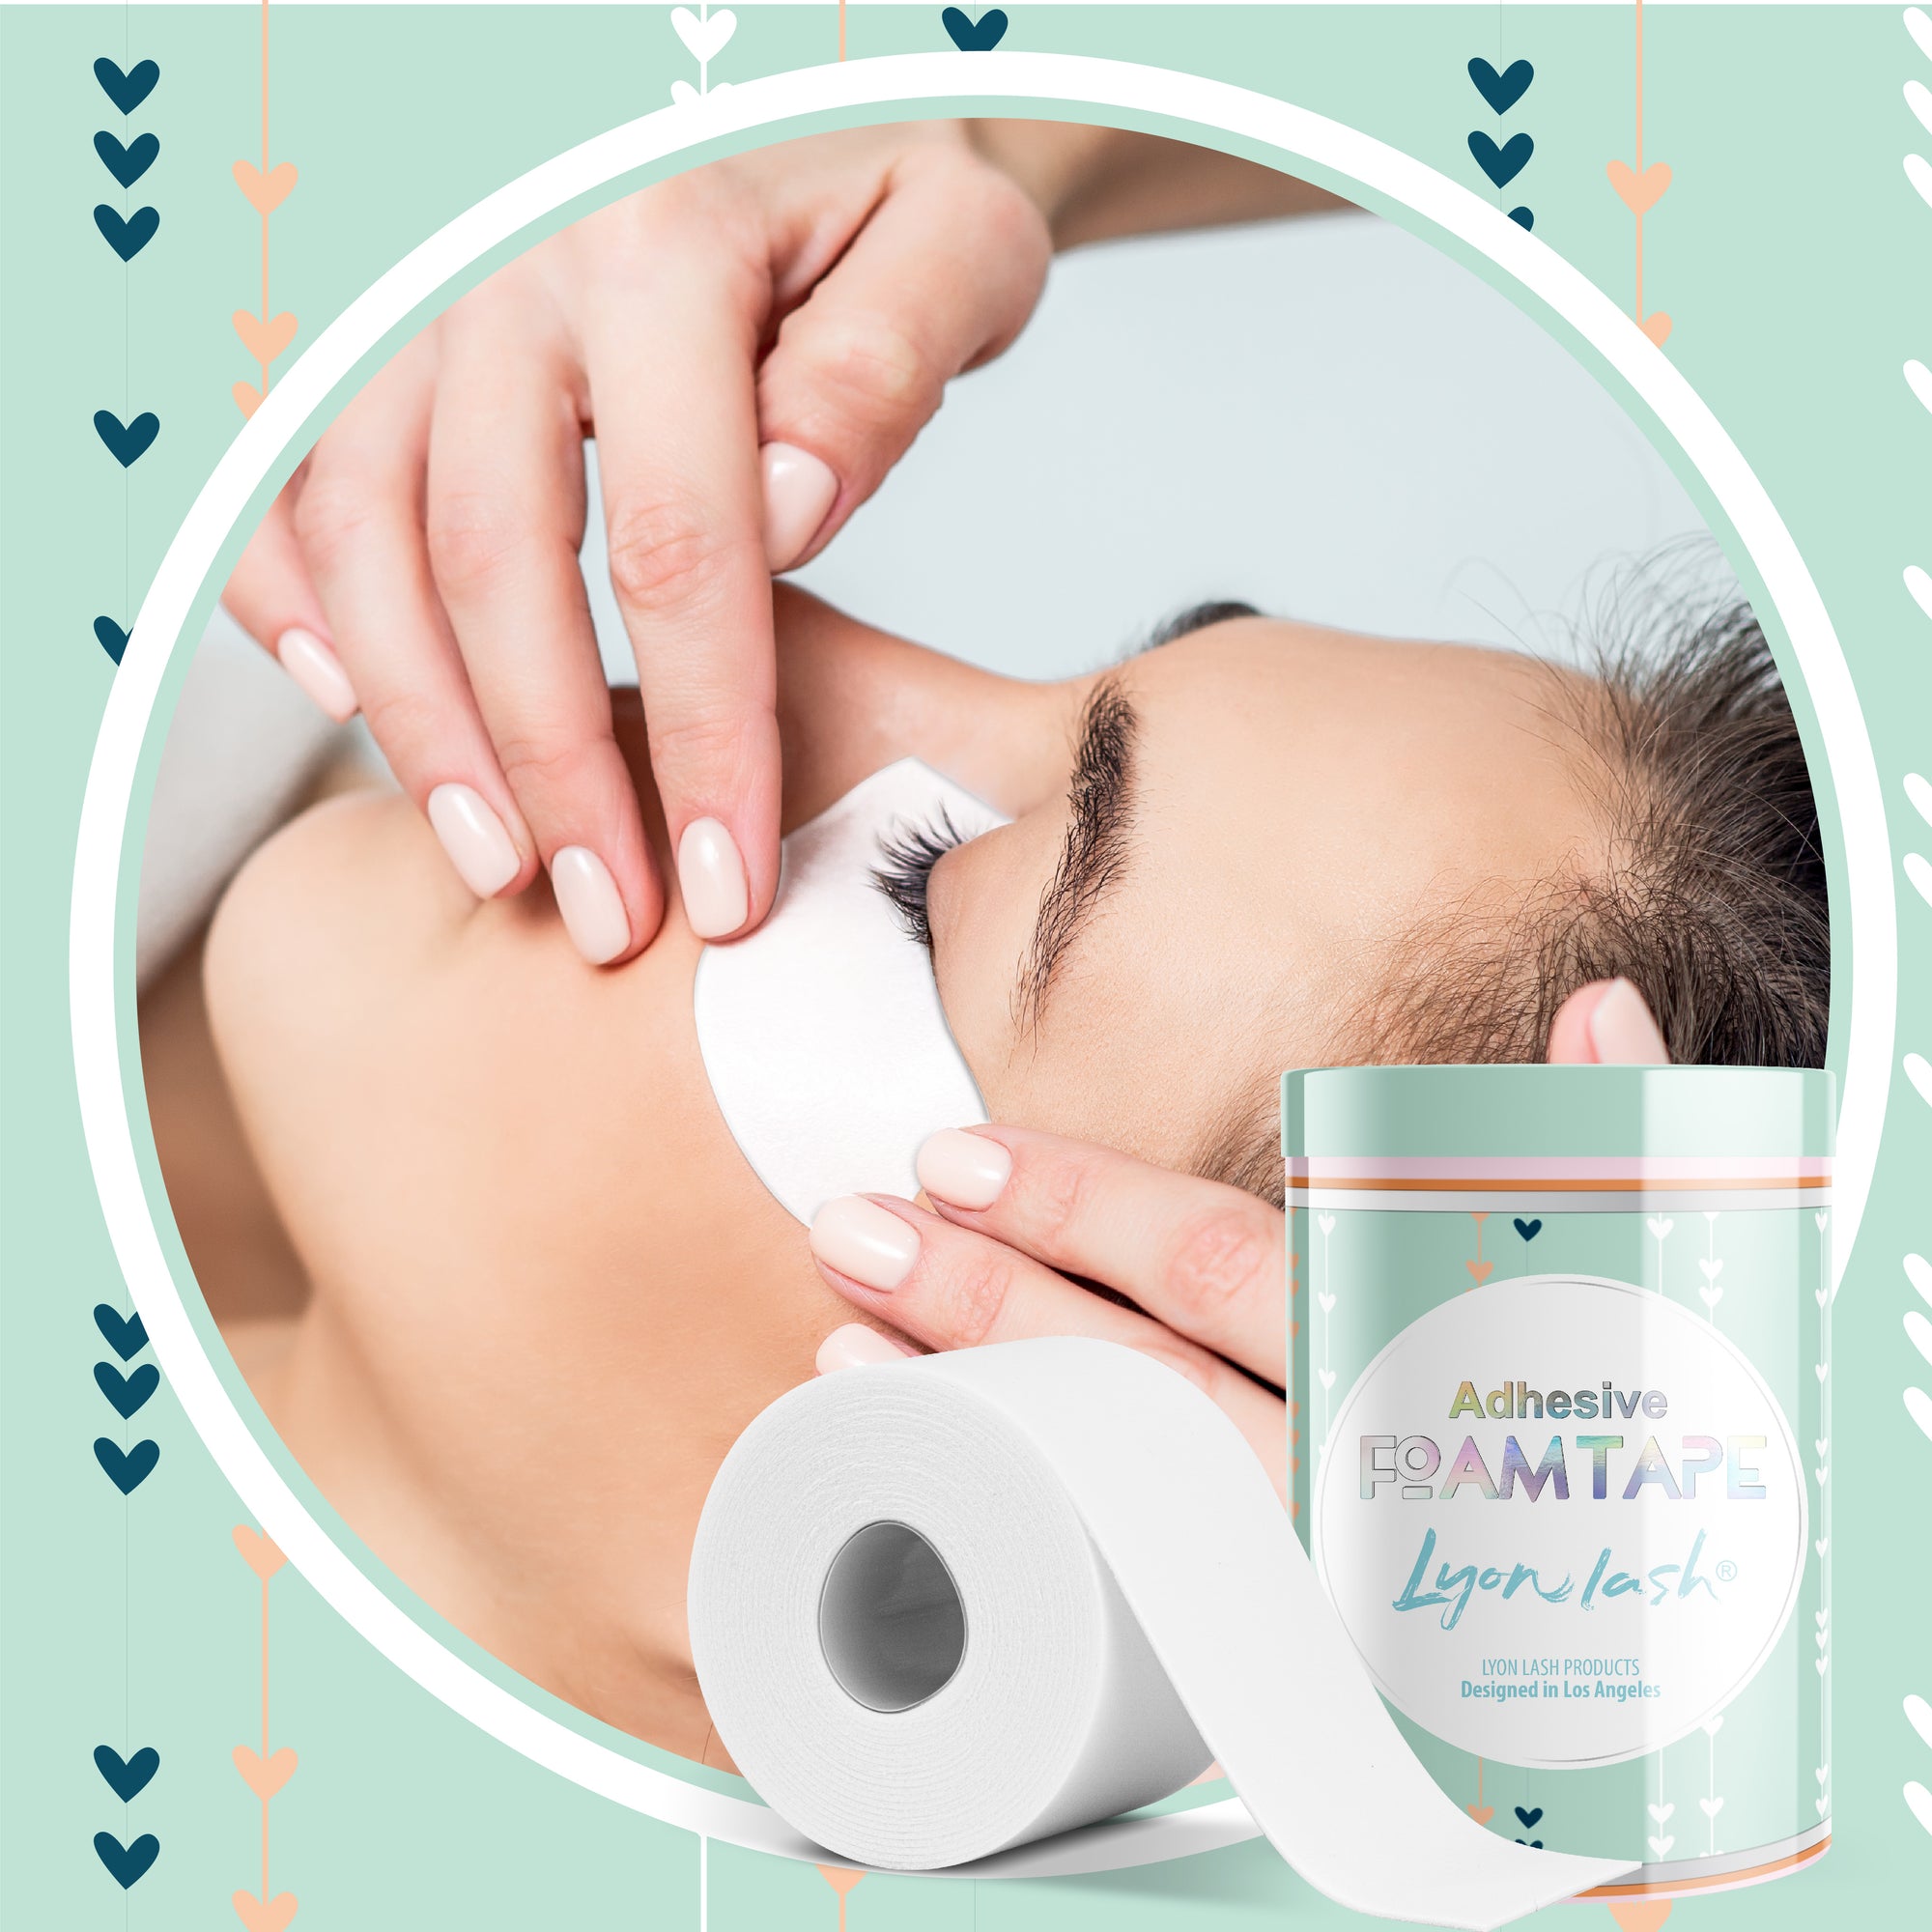
The work on layers technique is extremely useful when it comes to volume lash extensions. By isolating one layer of lashes at a time using tape, the process becomes much simpler. Here's a step-by-step guide on how to do it:
Step 1: Prepare a tape that is longer than the client’s eyes width.The tape serves to separate the lashes and prevent them from clumping together.
To prevent the tape from pulling on the lashes, place another layer of tape, with the sticky side facing towards the glue.
In case the lashes are too short,be sure to leave some exposed adhesive area, so that the shorter lashes can attach and be lifted.
Step 2:Secure the lashes in place with the tape, then use your isolation tweezers to gently separate one layer from the glued area. You should be careful and do this step accurately.
Step 3: Apply the lash extensions to the isolated natural lashes and repeat the process layer by layer until all the extensions are in place on all the layers of lashes.
The fingers technique can also be a great way to isolate lashes. You can use your index and ring fingers to separate the lashes, just like you would with a pair of tweezers! This method gives you more control over the eyelid and makes it easier to isolate the lashes.
However, it's important to be extra cautious and use a light touch when using your fingers. The last thing we want to do is cause any discomfort to the client. Also, don't forget the importance of hygiene and following proper safety protocols.
Make sure to wash your hands thoroughly before starting and follow all the guidelines to ensure a safe and successful lash extension session.
When it comes to isolating lashes, it's all about making delicate and precise movements. But doing this repeatedly can be tough on your hands. That's why it's super important to choose the right tweezers for your lash extension procedure.
A heavy pair of tweezers can put a lot of strain on your hand, making the process of isolation tiring and difficult. To avoid this, it's best to opt for a lightweight pair of tweezers that's easy to grip. This will make the process of isolation much more comfortable for you, allowing you to focus on providing the best possible results for your client.
When it comes to isolation tweezers, you've got three options to choose from: hooked, straight, and curved. You should try them all out to see which one you like best, but many lash artists find that hooked or angled tweezers are the way to go.
We recommend using the Lyon Lash Eyelash Tweezers. This straight and aligned tweezer has a precision tip that allows for a comfortable grip with less tension This makes it easy to isolate individual lashes without causing any stress. The smart design of these tweezers also allows you to reach difficult areas without putting too much strain on your hand.
Usually, the main reason why lashes clump and stick together is because the glue is still wet. If you don't let the adhesive dry completely, your lashes will be a mess and all your hard work will go to waste.

To prevent this, it's important to give the glue enough time to dry completely before applying the next set of lashes. Make sure the lashes are firmly in place before moving on. Hold the lashes for a few seconds after applying the glue, then slowly release them from the tweezers. If you don't do this, the lashes will probably not last long.
With these tips and tricks, you're now ready to master the art of lash isolation! By using a combination of the techniques mentioned, you'll find the perfect method for you and make your eyelash extension application smoother and faster.
Remember, the more you practice, the better you'll get! Keep honing your skills, and don't hesitate to experiment and try new things. We believe in you and your ability to become an expert at lash isolation. Good luck!