Your Cart is Empty
Get 15% off discount with LYONLASH15 | Purchase 3 items to get 10% off with BUNDLE3
Get 15% off discount with LYONLASH15 | Purchase 3 items to get 10% off with BUNDLE3


The lash mapping technique is essential to creating a fabulous set of lash extensions for your clients. It is a precise and expert approach for you to arrange the lengths, thicknesses, and curls in different areas on a lash design.
It's a great method for producing lash extensions that suit various eye shapes and achieve the style and dramatics that your clients desire.
In this blog, we’ll teach you how to do lash mapping properly, as well as some popular lash maps for your reference!

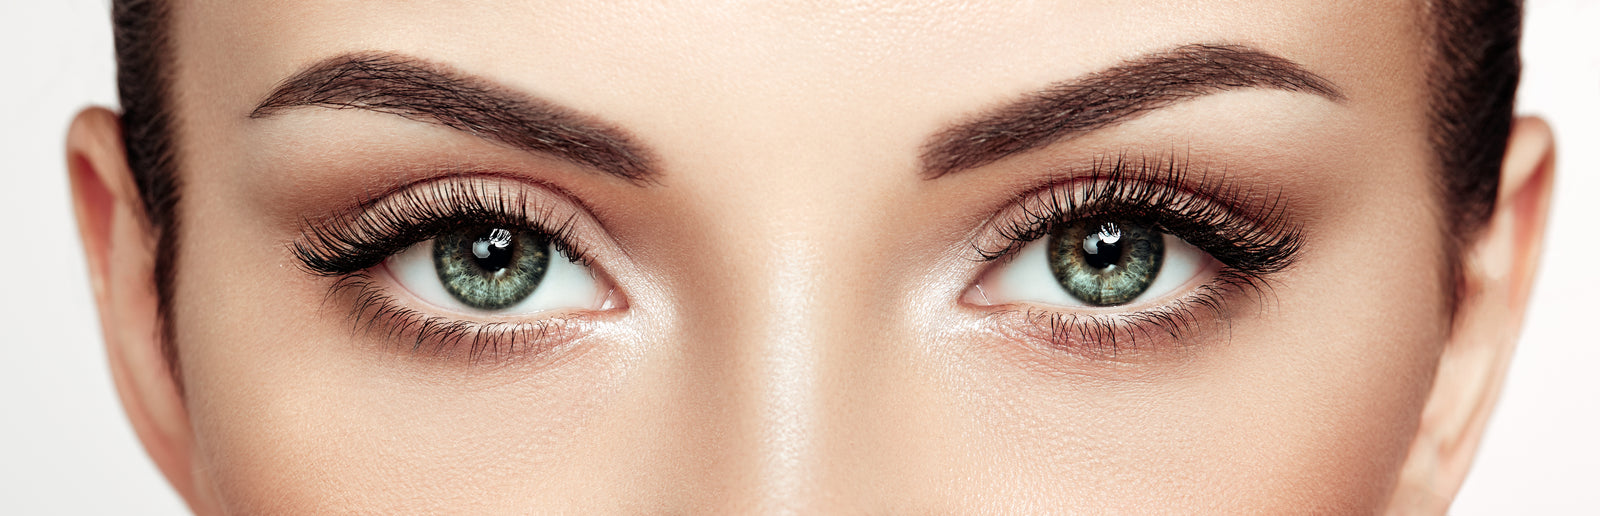
Natural lash mapping will follow the natural growth of the client’s lashes. It is a style of gradual change in shape without a dramatic increase in length.
Effect: Looks the most natural with a small increase in length.
Suitable Eye Shapes: Almond eyes, upturned eyes, round eyes
Avoid on: Hooded eyes, monolid eyes, downturned eyes

The longest false lashes of this map are over the iris, then the length of lashes drops down dramatically on the inner and outer corners.
Effect:Corrects downturned eyes, enlarge your eyes.
Suitable Eye Shapes: Almond eyes, monolid eyes, downturned eyes, hooded eyes, wide-set eyes
Avoid on: Round eyes, upturned eyes, narrow face shapes, and close-set eyes

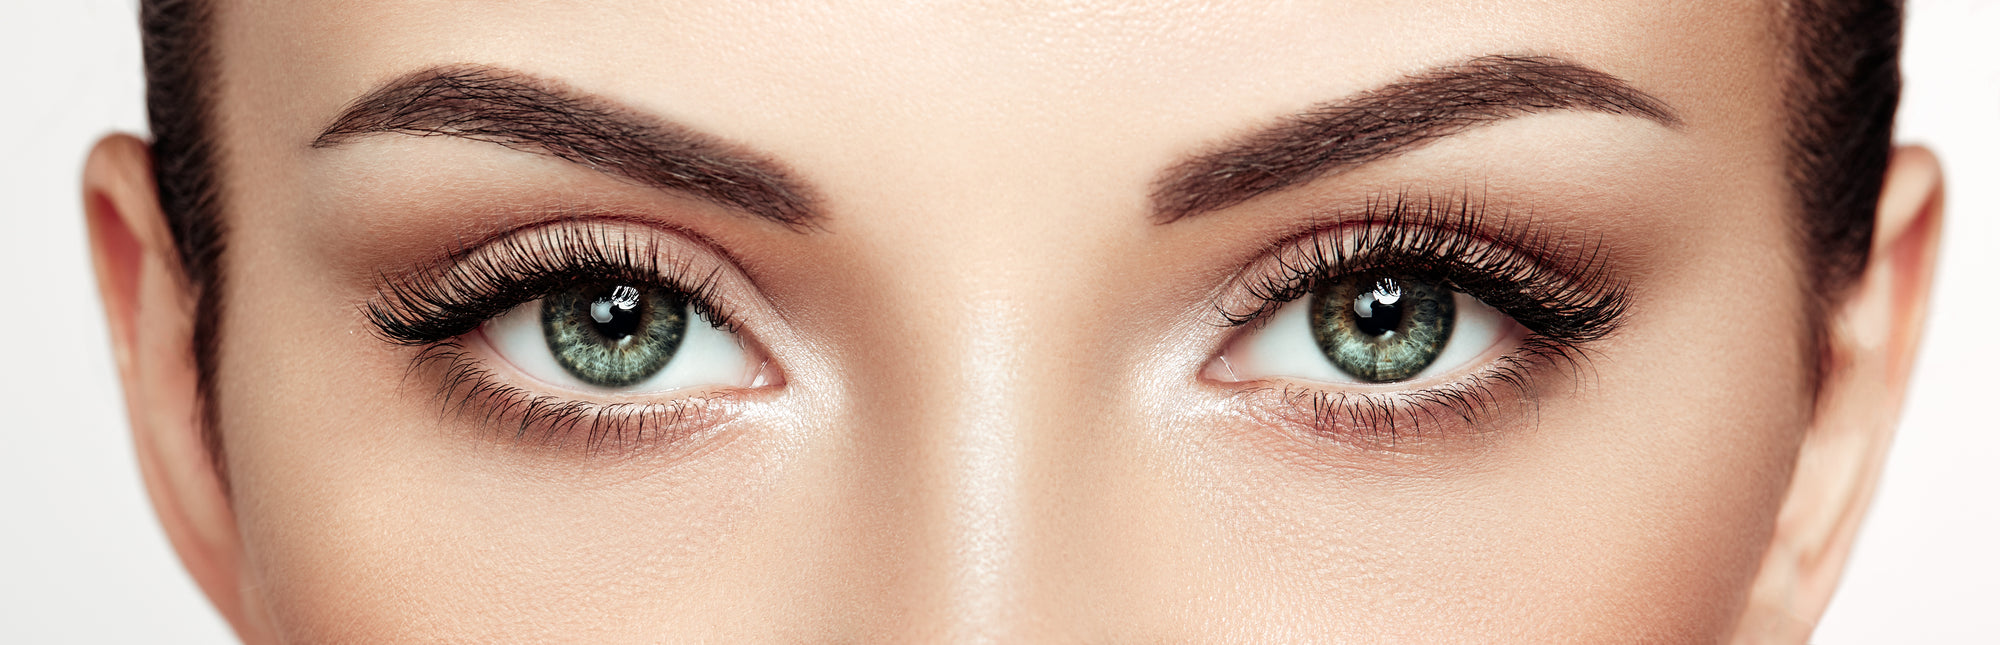
Cat eye mapping will stay short until it reaches the pupil, then the length will greatly increase from the center to the outer corner of the eye.
Effect: Makes eyes look wider, corrects close-set eyes.
Suitable Eye Shapes: Almond eyes, round eyes, upturned eyes, monolid eyes, hooded eyes, close-set eyes
Avoid on: Downturned eyes, wide-set eyes
To evaluate whether the client's request or the design you had in mind is suited for them, you must first assess certain features of the client's face and eyes.
The client must remain still and face you directly for a minute while you examine the eye in detail to evaluate different aspects of it. This cannot be done if the client is lying down as it will not accurately portray the customer's facial features.
There are 4 main types of eye shapes, which are almond, round, hooded and monolid.

Almond eyes are a common eye shape, in which the iris is slightly hidden above and below the upper and lower eyelids. You are more likely to have round eyes if you can see your complete iris.
If the complete iris is visible and the lid is not covered above or below, you have a round eye. This eye shape generally has an open and bright appearance.
The brow bone of hooded eyes is prominent and has a deep crease. Depending on the size of the hood, t he lash line may be concealed behind the eyelid, pinning the lashes down and covering the majority of the roots.
Monolid eye shape is common in Asian women, it features a less apparent crease.
There are different kinds of eye angle, including straight, slightly upturned, or slightly downturned.

Upturned eyes are also known as “cat eyes”. Upturned eyes have an unique appearance because the outer corners are tilted upward and higher than the inner corner.

Downturned eyes have lower outer corners than inner corners.
Eyes that are evenly spaced have one eye's width between them. In contrast, wide-set eyes have more than one eye's width between them, while close-set/narrow-set eyes are closer together than one eye width.

Eyes that are closer together than one eye-width.

Eyes that have more than one eye width between them.
In some situations, your client may want lashes that are really long or full, yet their natural lashes might not be capable of supporting them. The weight of extensions that are 12mm or 13mm in length will be too much for fine, fragile lashes to support.
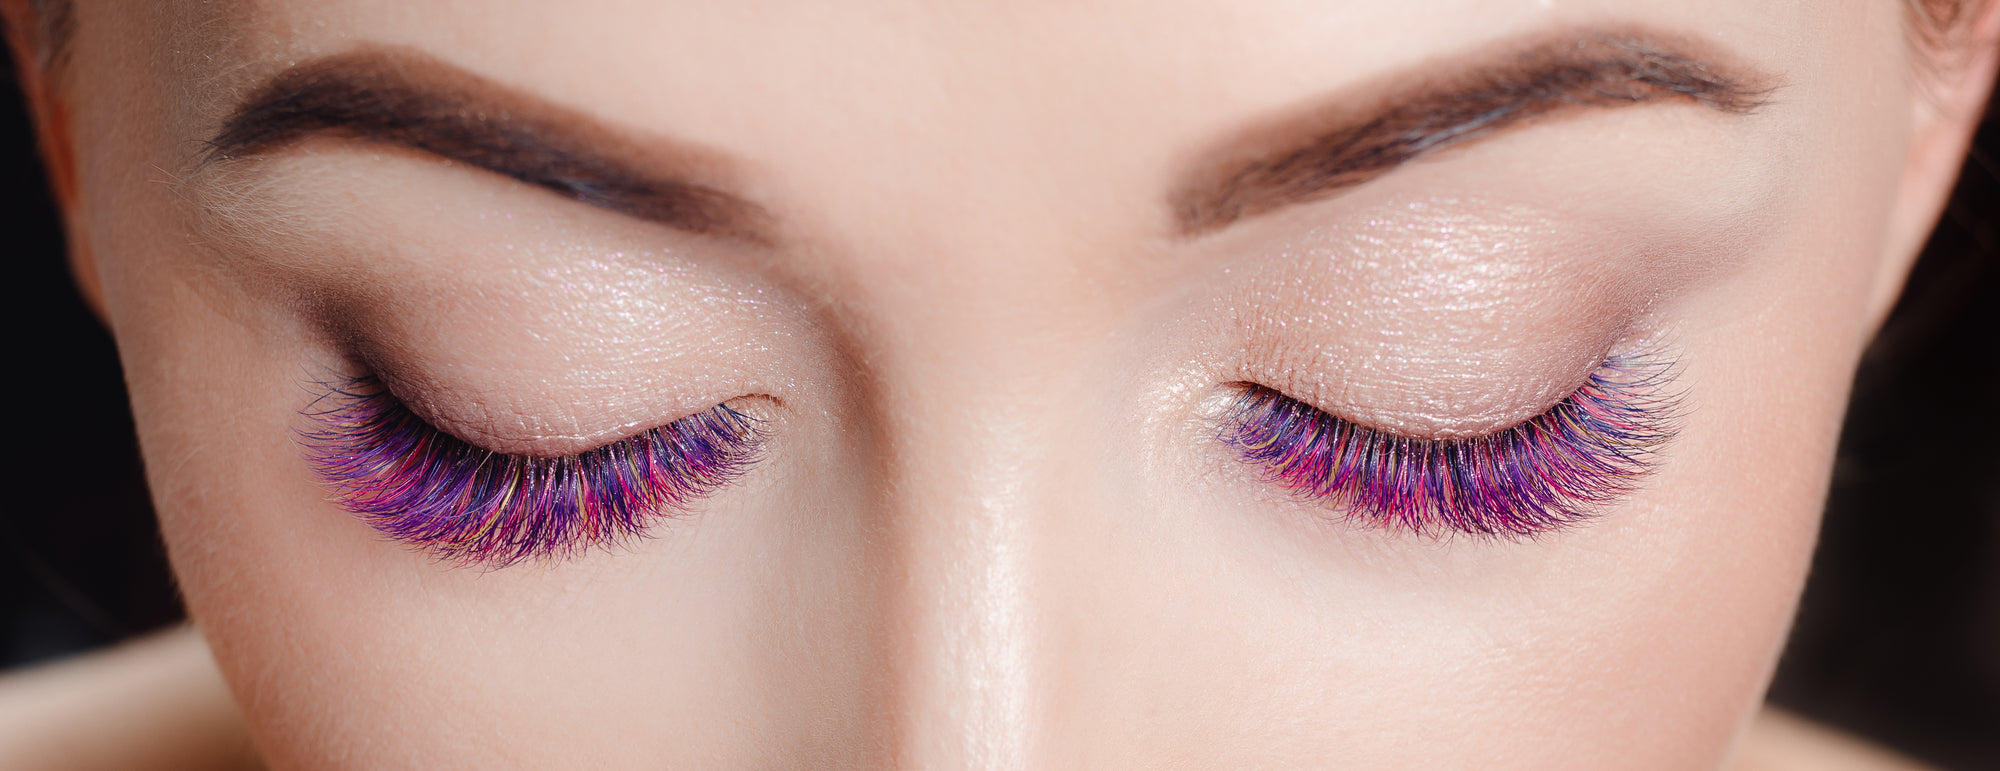
Everybody's natural eyelashes grow in different directions. While some people's lashes are naturally curly, others may have lashes that are fairly straight or points downward.
To bring out the best in each client's eyes while ensuring that their eyes won't be obscured by lash extensions or appear odd, you should choose the appropriate lash curl for every client.
Eyes can be framed by brow shape. It's crucial to take into account the contour of the brows and select lash extensions that are compatible with them.
Wide faces can carry more dramatic looks, whereas narrow faces may look overwhelmed by excessively long lashes or a wide cat-eye.
Wide face
After analyzing your client's facial features, you should come up with the initial concept for the eyelash design and then create a detailed map to execute it. You can follow our step-by-step guide:
Step 1: Mapping on the skin
With the client's eyes open, place dots above where you want the longest lashes to be, closer to the eyebrows. You can mark closer to the lash line if the eyelids and lashes have previously been cleaned.
Depending on the style you choose, you can place several dots to mark where the different sections should go. This step can help guide you of where the iris or pupil is when the client has their eyes closed, it would be one of the main indicators you need for lash mapping.
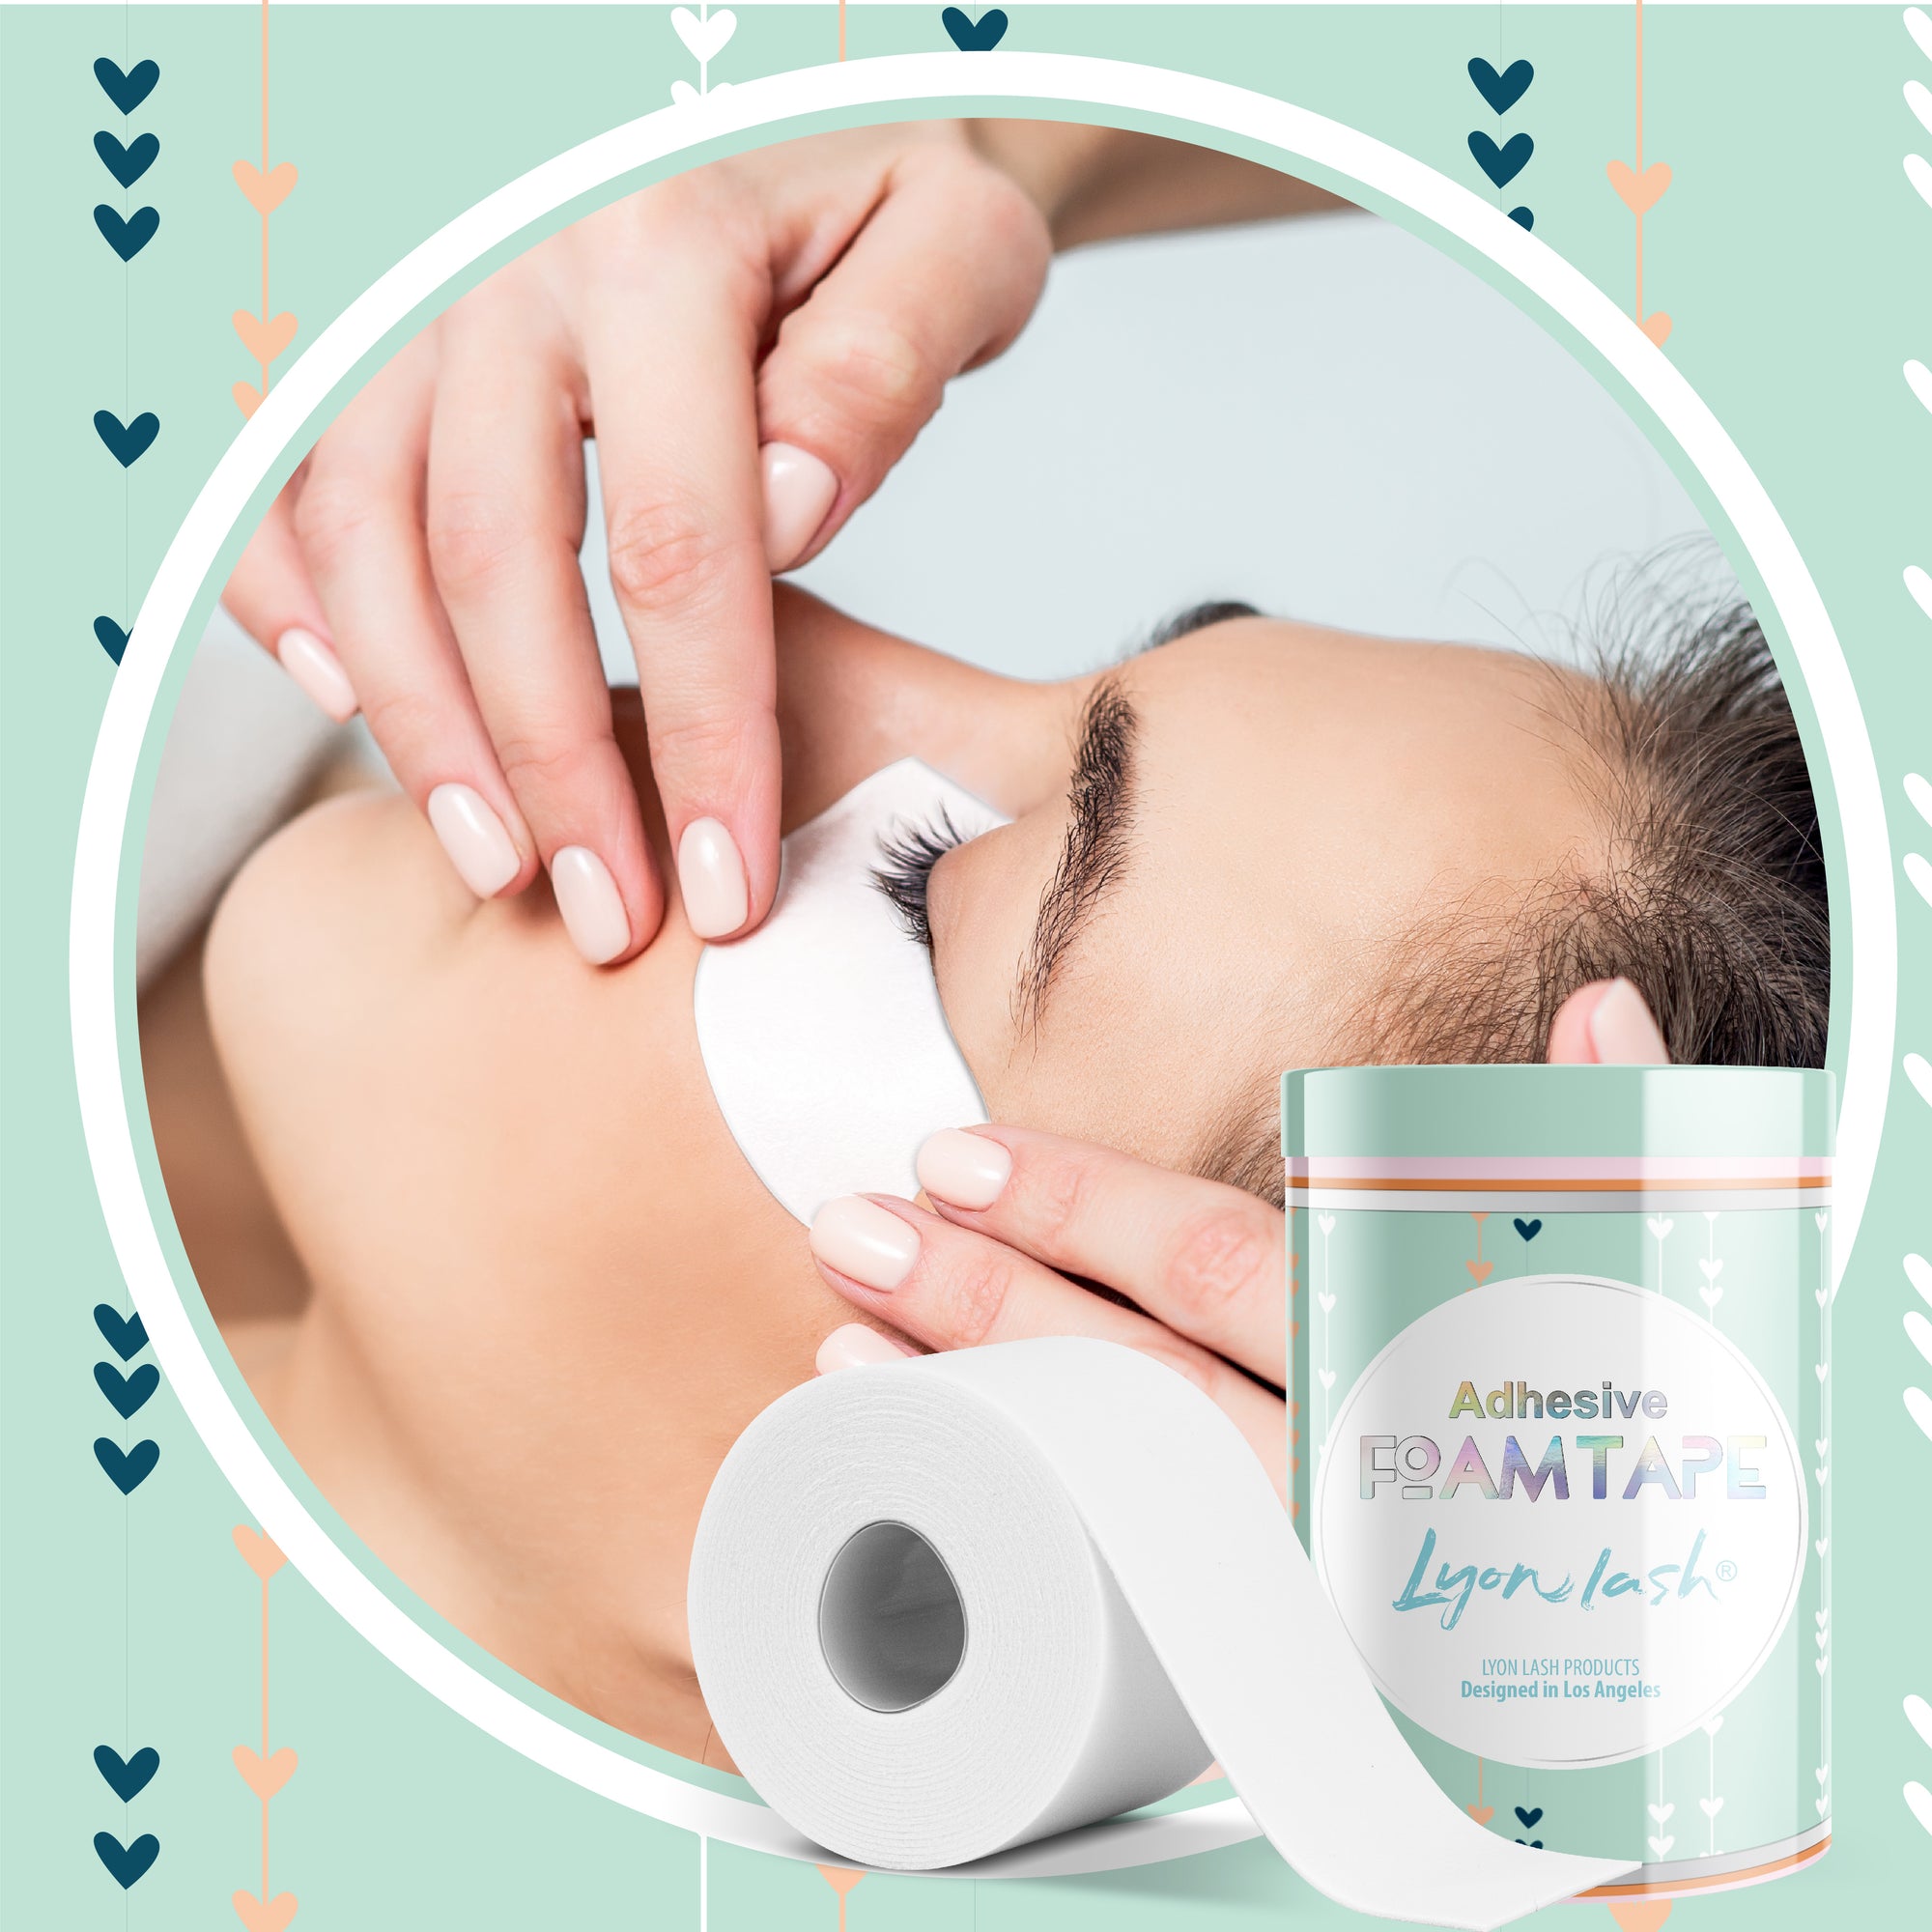
Step 2: Apply eye pads
After mapping on the skin, place the gel pads under the lower lashes and simply press to secure them in place. Keep the eye pads at least 1-2 millimeters away from the waterline.
Step 3: Lash mapping on the gel pads
Ask your client to close their eyes after applying eye pads, then use your colored pen to precisely replicate the markings you drew on the skin with your gel pad.
After that, you can draw lines on the pads to decide where to place the extensions. Depending on the type of lashes, it is recommended to split the region into 5–6 sections, if not more. The lengths and curls for each area should be noted down.
Once you’ve finished your lash map on the eye pads for the desired style, you can start applying the lash extensions!
Summary
It's always crucial to ask your client what style they like prior to lash mapping, but you should also be ready to propose another option if necessary. After inspecting your client, discuss the design or modification you want to make with them to see what will work best for them.